
Custom Labels: What Has to Agree Before Anything Is Printed
A label is three choices resting on one another, and they are not independent.
The face, the adhesive under it and the finish over it are ordered as one build. Most of what goes wrong on a custom job is not a bad choice in any single layer; it is two reasonable choices that were never tried against each other. This page is about where they meet.
What Gets Settled Before the Artwork Does
The order matters, because each step removes options from the next.
Artwork is usually the first thing a buyer has ready and the last thing that should be locked. Everything upstream of it changes what the artwork has to fit into: how wide the printable area really is once the container curves, whether a white layer is needed under the colours, whether the outline can be drawn freely or has to sit inside an existing die.
The thing it goes on, its shape and its surface. Everything below narrows from here.
What the artwork prints on, chosen from what the container leaves available.
What holds that face on, under the conditions the container lives in.
What goes over the top, once there is a face for it to sit on.
The shape, drawn last because the die is cut to it.
Send the container first and the rest of the conversation gets shorter, because the questions that follow are already narrowed.

Adhesive Constraints: Curvature, Application Temperature and Reversibility
What the container asks of the adhesive, before anything gets chosen.
Curvature is the one that surprises people. A label that lies flat on a bench is being asked to bend in one direction on a bottle and in two on a shoulder or a lid, and the tighter that radius is, the more the edges want to lift back to flat.
Application temperature matters because the label is put on at a moment, not in general. A container labelled while it is still warm from filling, and one labelled after it has been chilled, are two different jobs even when the finished product ends up in the same place.
Reversibility is a question about the end rather than the start: whether the label is meant to stay for the life of the container, or to come off cleanly at some point. Removable and permanent are both adhesive options, and which one a job takes is settled here rather than assumed.
Freezer-grade sits in the same layer as the others; it is an adhesive option, and whether a job needs it is decided from the container rather than from the label.
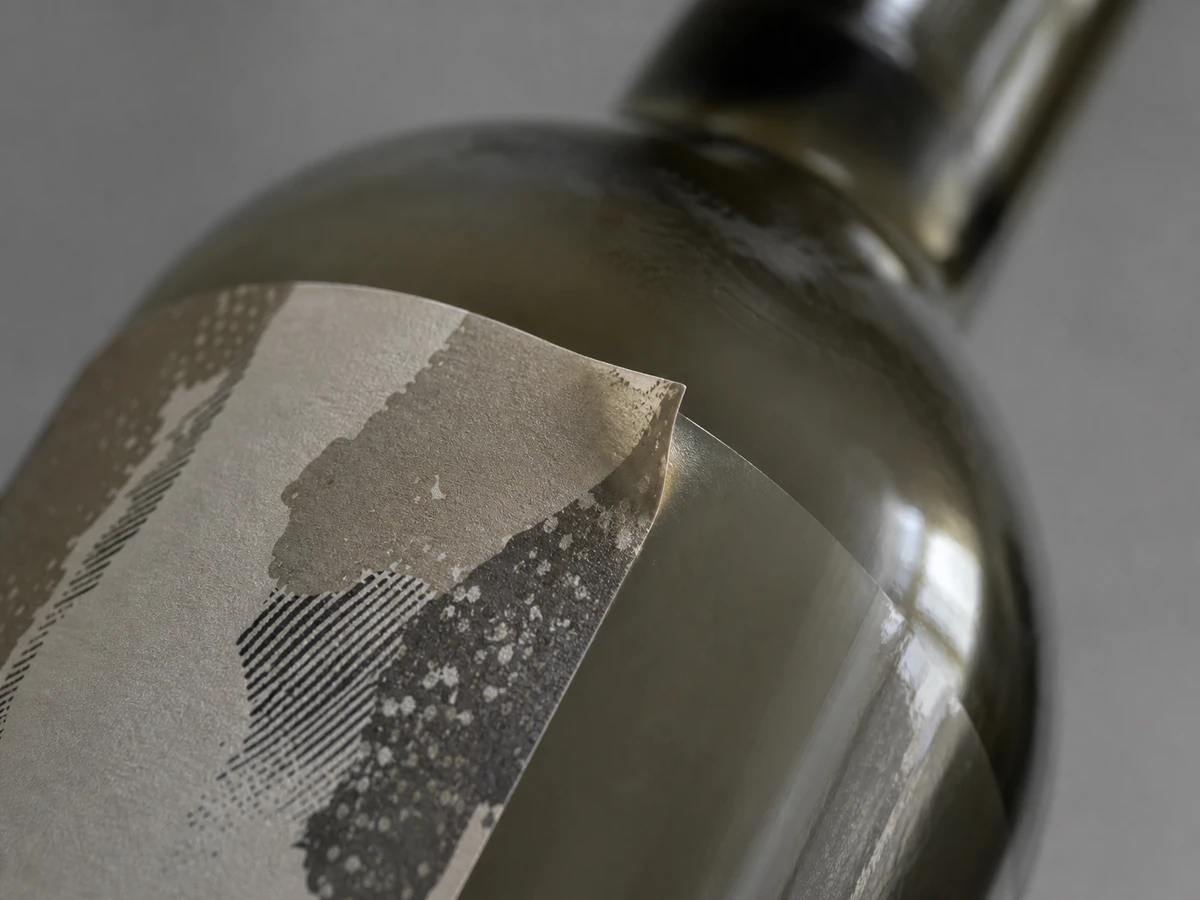

Where a Finish and a Face Have to Be Tried Together
Not everything that can be specified together looks the same once it is made.
A finish is applied over a face, so the two are read together rather than separately. Some pairings are ordinary and go straight through. Others are the ones we come back to you on before the job is signed off, not because the pairing is off the table, but because how it turns out depends on the specific stock and is worth seeing on a sample first.
Goes through as specified
The pairing is ordinary on this line, and the sample is a formality rather than a decision.
We come back to you on it
The pairing is possible, and the result varies enough by stock that we would rather agree it with you than assume it. Expect one question before the job moves.
Worth a sample first
The pairing is one where the finished appearance is the whole point, so it is settled by looking at a physical sample rather than by description.
Which of the three a given pairing falls into is set out per container in the matrix below, in the column that says what we come back to you on.
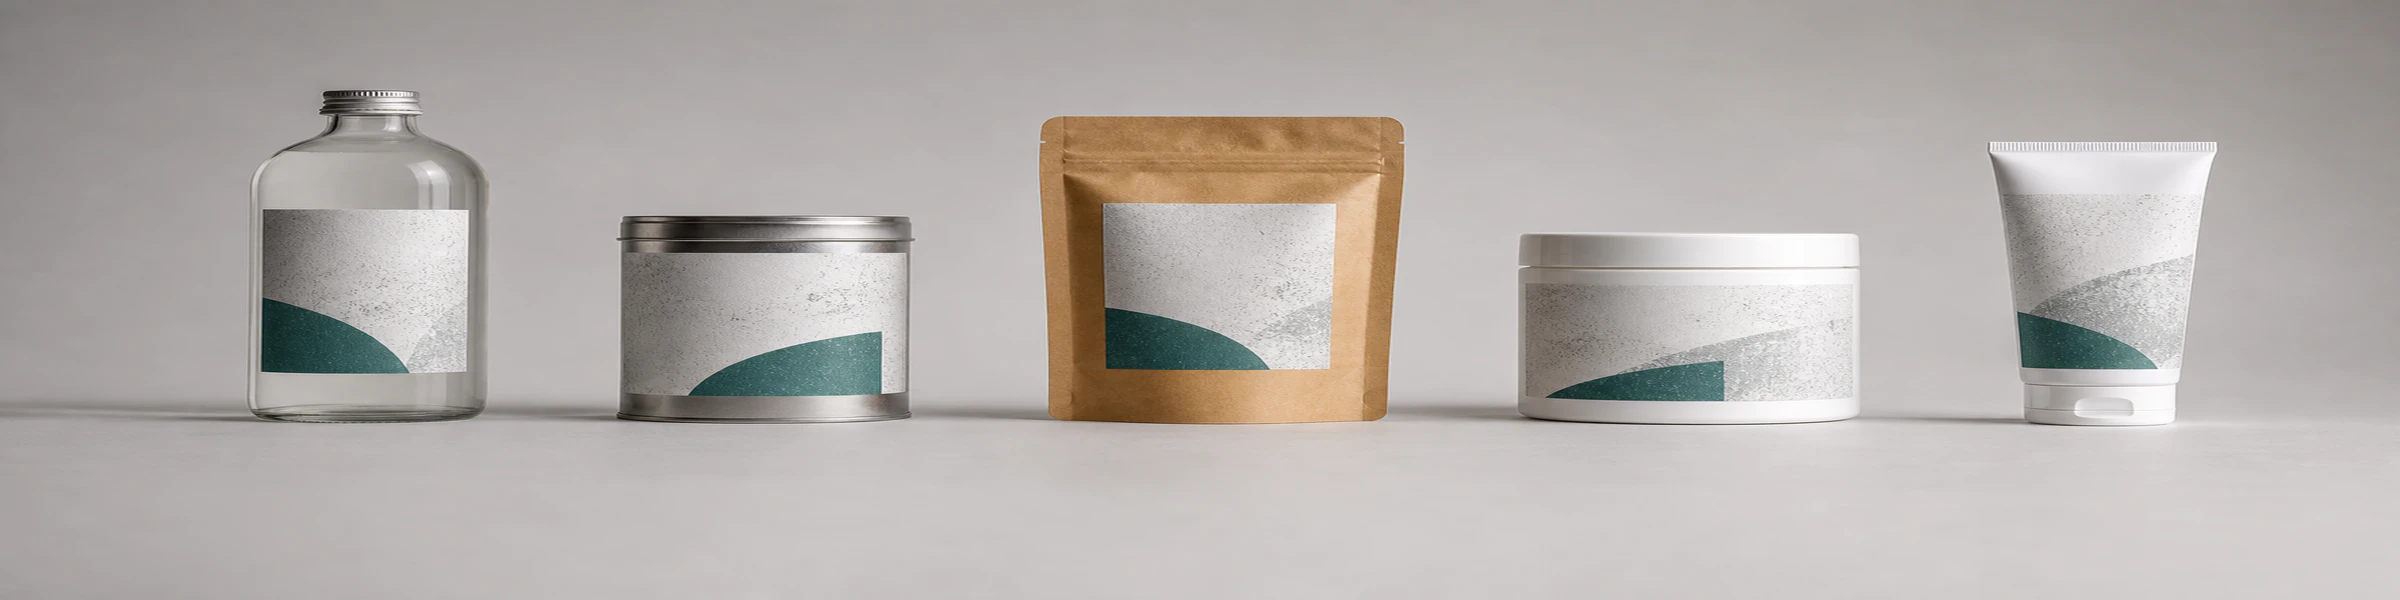
Product Labels by Container: Which Face, Adhesive and Finish Hold Together
Read across from the container you actually have.
The container is the only entry point that narrows all three layers at once. Everything else in a specification can be revisited; what the label goes onto usually cannot.
| Container | Face it narrows to | Adhesive question it raises | What we come back to you on |
|---|---|---|---|
| Glass bottles and jars | Paper faces and clear film both stay open | Whether it is labelled warm from filling, and whether it has to survive a chiller | Whether a clear face needs a white layer under the artwork to stay legible on tinted glass |
| Plastic bottles and tubs | Film faces and paper faces both stay open | How much the wall flexes when the container is squeezed or stacked | Whether a squeezed wall wants a face that flexes with it |
| Squeezable tubes | Faces that bend without creasing | The same flex question, on a tighter radius | Whether a finish over that face will still look even after the tube is handled |
| Kraft pouches and paper bags | Uncoated and kraft faces read naturally here | Whether the surface is coated or raw, which changes how much of the adhesive is in contact | Whether a coated pouch surface changes what the adhesive is asked to do |
| Metal tins and cans | Most faces stay open | Seam positions and whether the label crosses one | Whether the label is being asked to bridge a seam or sit clear of it |
| Frozen and chilled packs | Faces that stay dimensionally stable when cold | Whether it is applied cold or applied warm and then chilled | Which of those two the line actually does, because they are different requirements |
| Cosmetic and dropper bottles | Small faces with tight tolerances | Curvature on a small radius, and reversibility if the container is refilled | Whether the printable area survives once the curvature is accounted for |
Every row is a starting point rather than a ruling. The last column is where a job pauses for one question rather than where it stops.
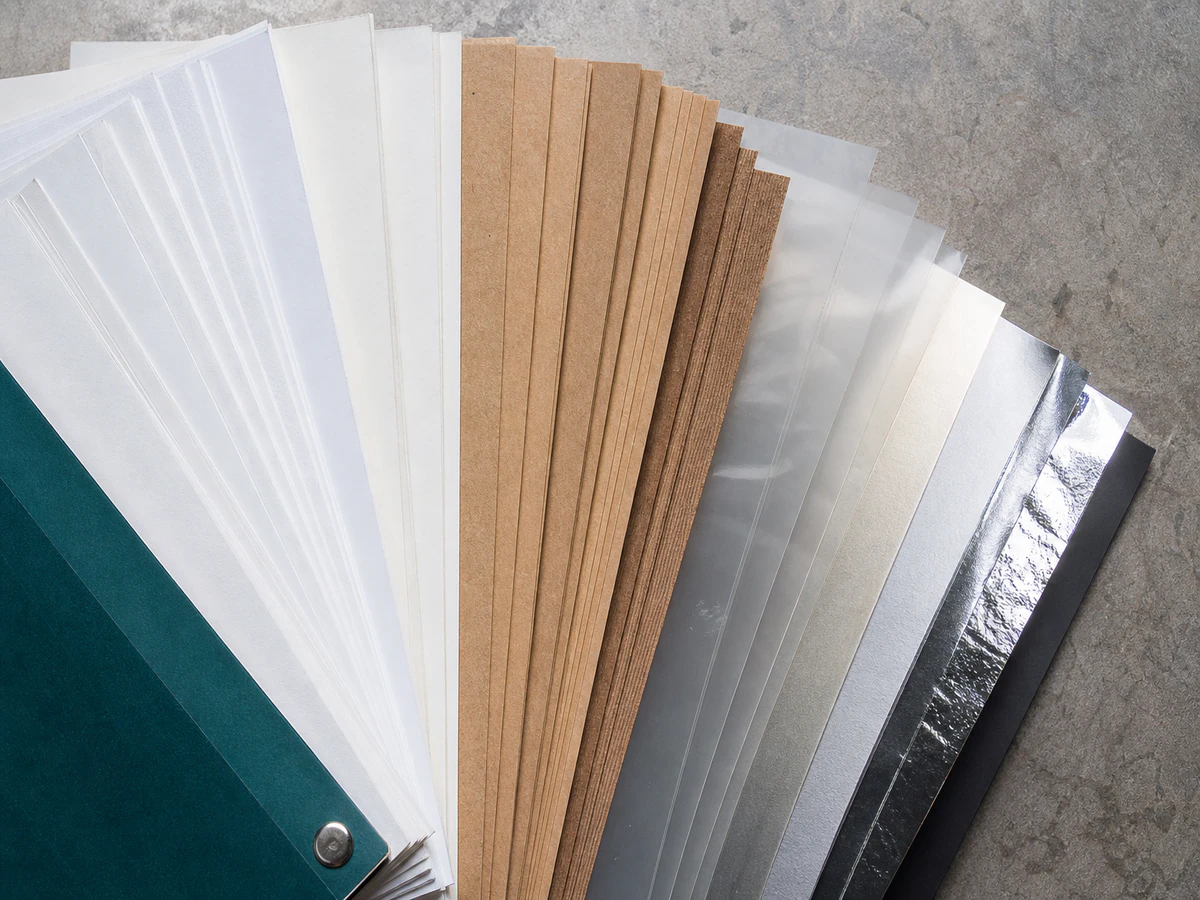
What the First Applied Sample Shows
The faults that appear the moment a label meets the actual container.
Up to this point everything is on paper. The first sample applied to a real container is where a combination stops being a specification and starts being an object, and a short list of things show up immediately.
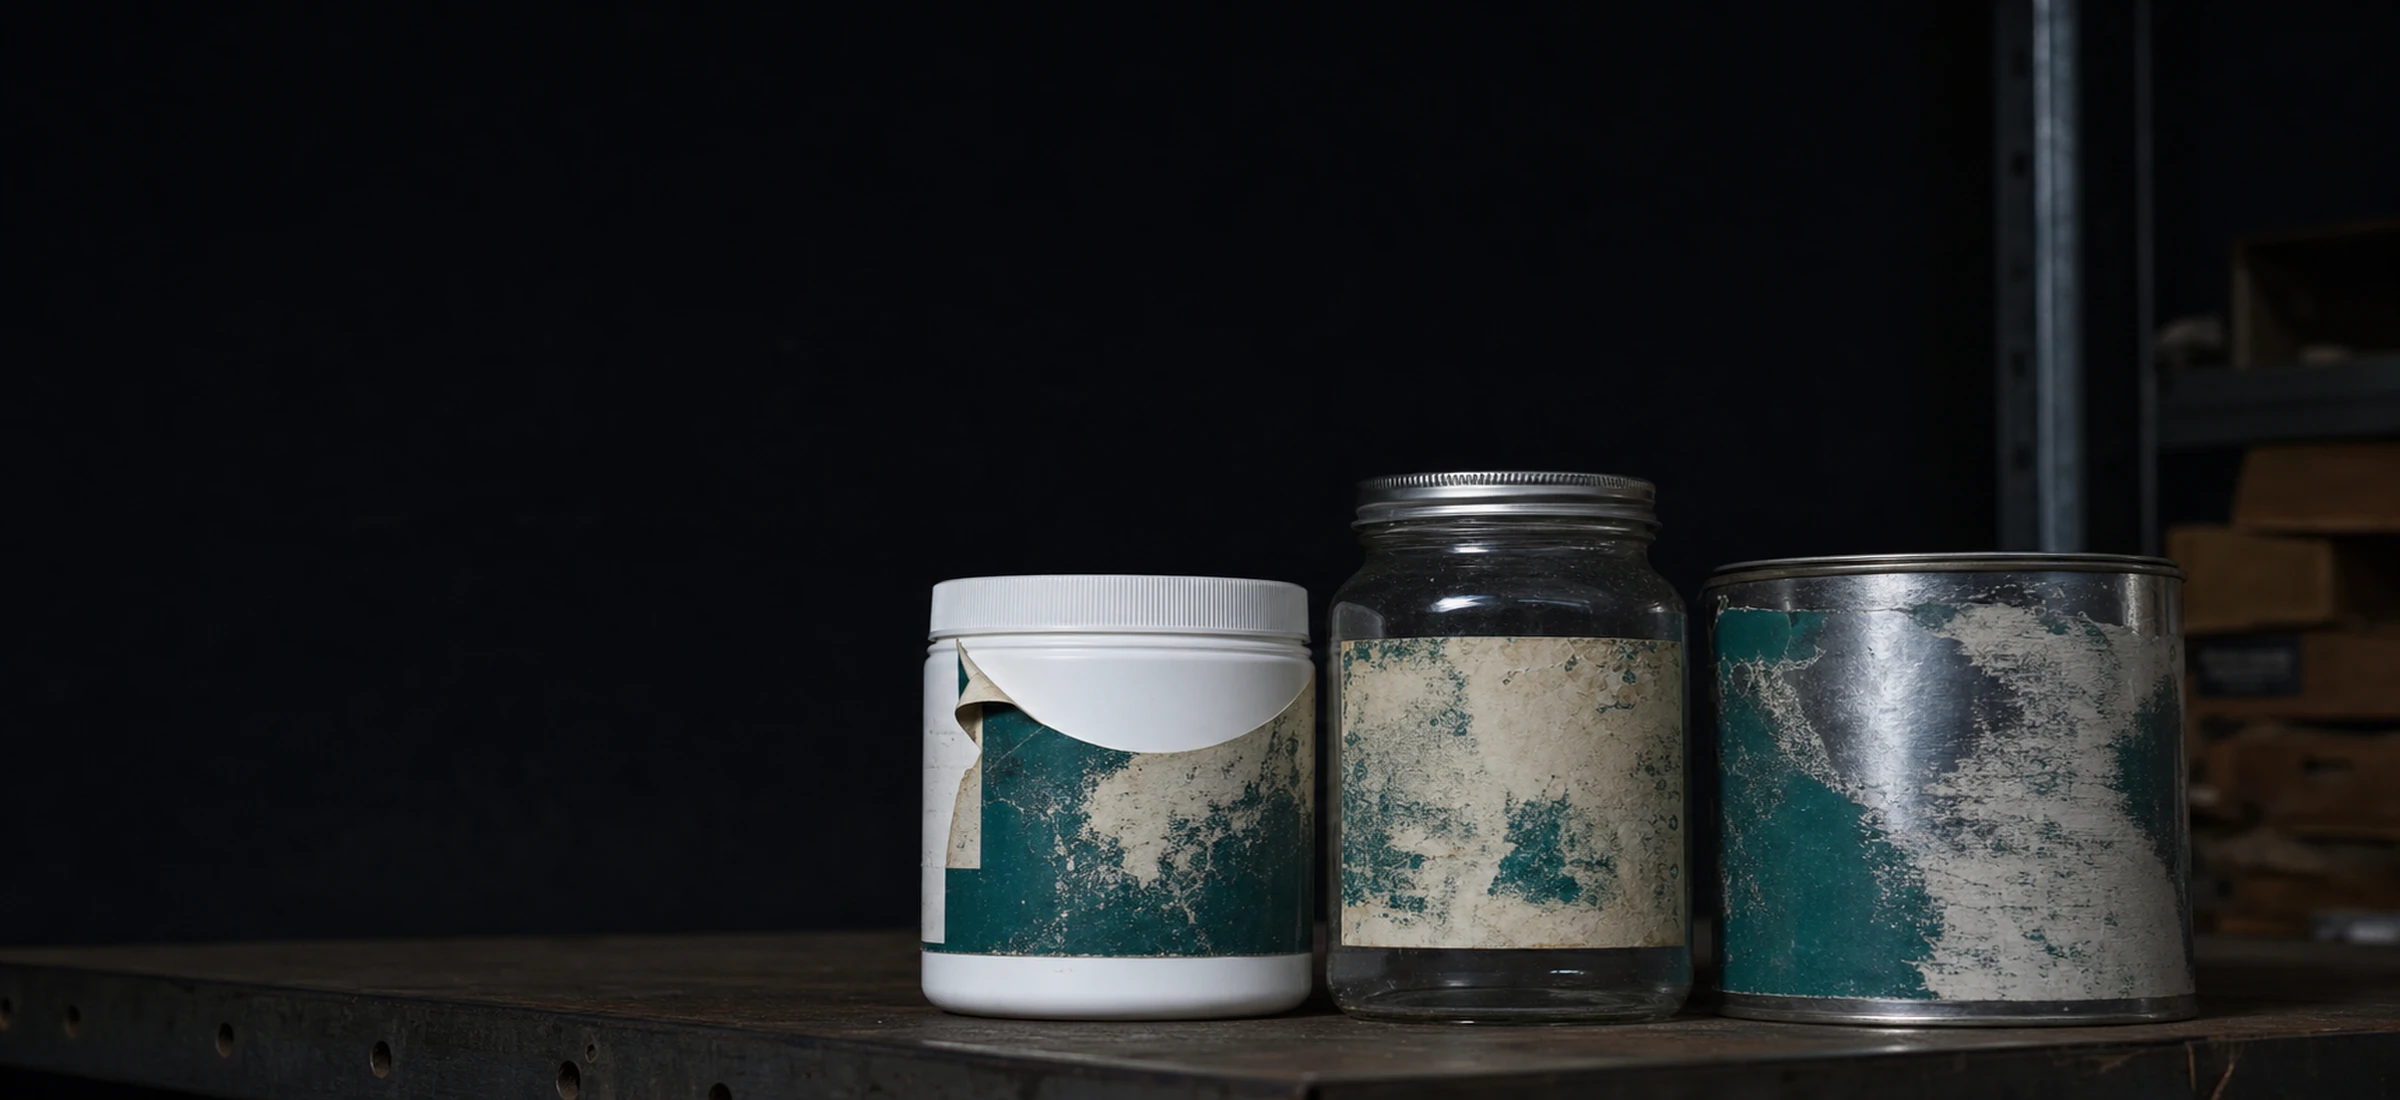
Edges that lift at the corners, on a radius tighter than the face wants to bend. Bubbles trapped along a seam or a moulding line. A clear face that reads well on white card and disappears against the actual container colour. A finish that looked even on a flat proof and shows banding once it follows a curve.
None of these need a laboratory to find; they need one label on one container, which is why the sample comes before the run rather than after it.
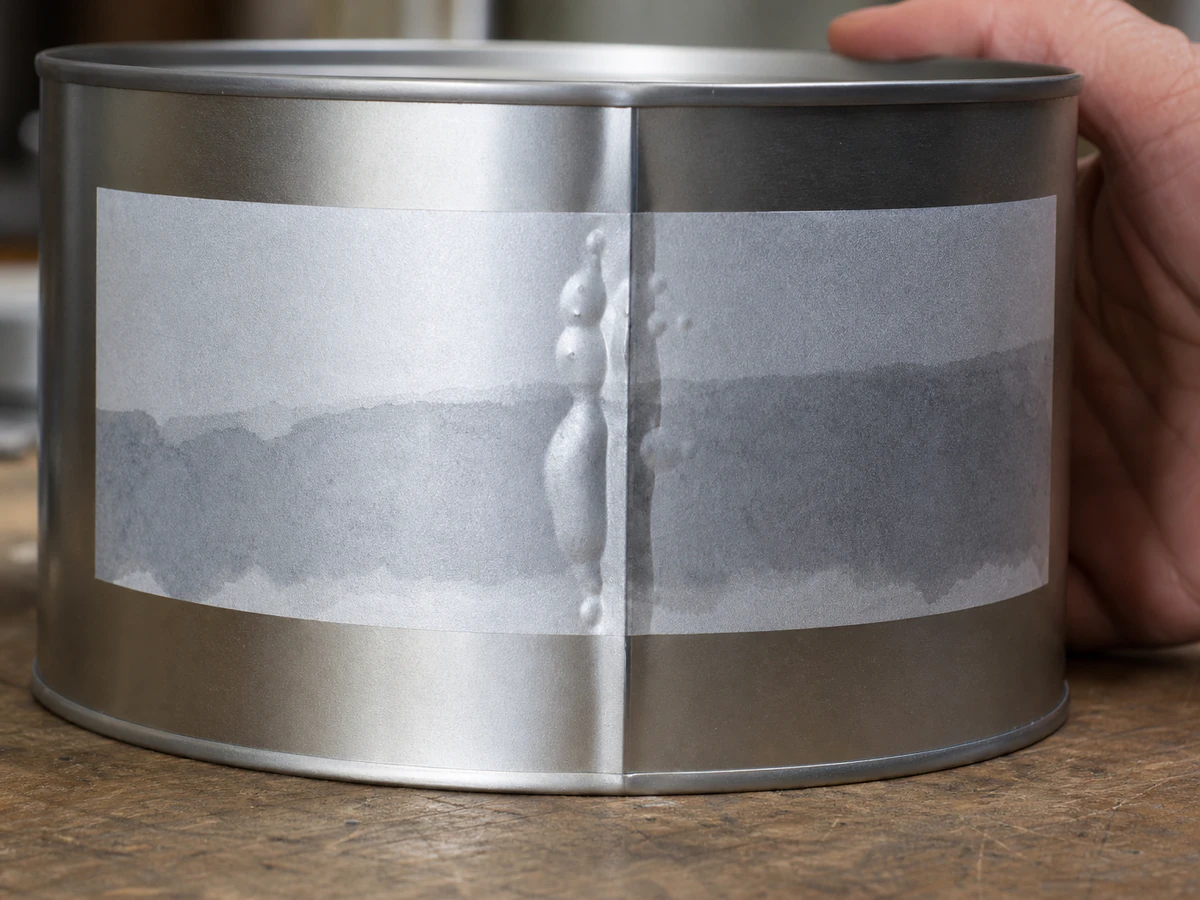
What Shows Up Later
The ones a first sample cannot tell you, because they need time.
A second group of faults only appears after the label has been on the container for a while, or after the finished goods have been through a distribution chain. They are the reason a sample that passed on day one is not the same as a job that held.
Edges that lift slowly
The label went on flat and stayed flat, and weeks later the corners on the tightest part of the curve have crept back.
Faces that change
The container's contents, or what it is packed against, reach the face over time and the surface no longer looks the way it did when it was applied.
Finishes that wear
The parts of the label that get handled most lose their evenness first, which is usually the raised or reflective areas rather than the flat ones.
Where a job has to hold for a long time on something demanding, say so at the enquiry: the stock a build is quoted from moves with that requirement, while the way it prints does not.
Which Layer the Second Sampling Round Usually Changes
A second round is normal. What moves in it is rarely the artwork.
When a sample comes back and something is not right, the instinct is to change the design. In practice the artwork is usually the layer that stays and one of the other three moves.
When the sample was legible in isolation and not against the real container, or when the surface it printed on did not sit the way it was expected to.
When the label held and then lifted, or held too well somewhere it was meant to come off.
When the appearance is the thing being judged, and the pairing turned out to need the other option after all.
When the printable area proved smaller than the artwork assumed once the curvature was accounted for.
Stock and blank samples carry no charge. A sample printed to your own artwork is charged and that charge comes back off the bulk order. Carriage is either billed to you or taken on an account you nominate.
Saying which of the four you want changed keeps the second round to one round.
The Shape Is Narrowed Before It Is Drawn
By the time the outline is drawn, most of it has already been decided.
An outline feels like a free choice and mostly is not. The printable area on a curved container is smaller than the container looks. The application method sets how much lead-in the label needs. The face already chosen has a grain that affects how cleanly a tight inside corner cuts.
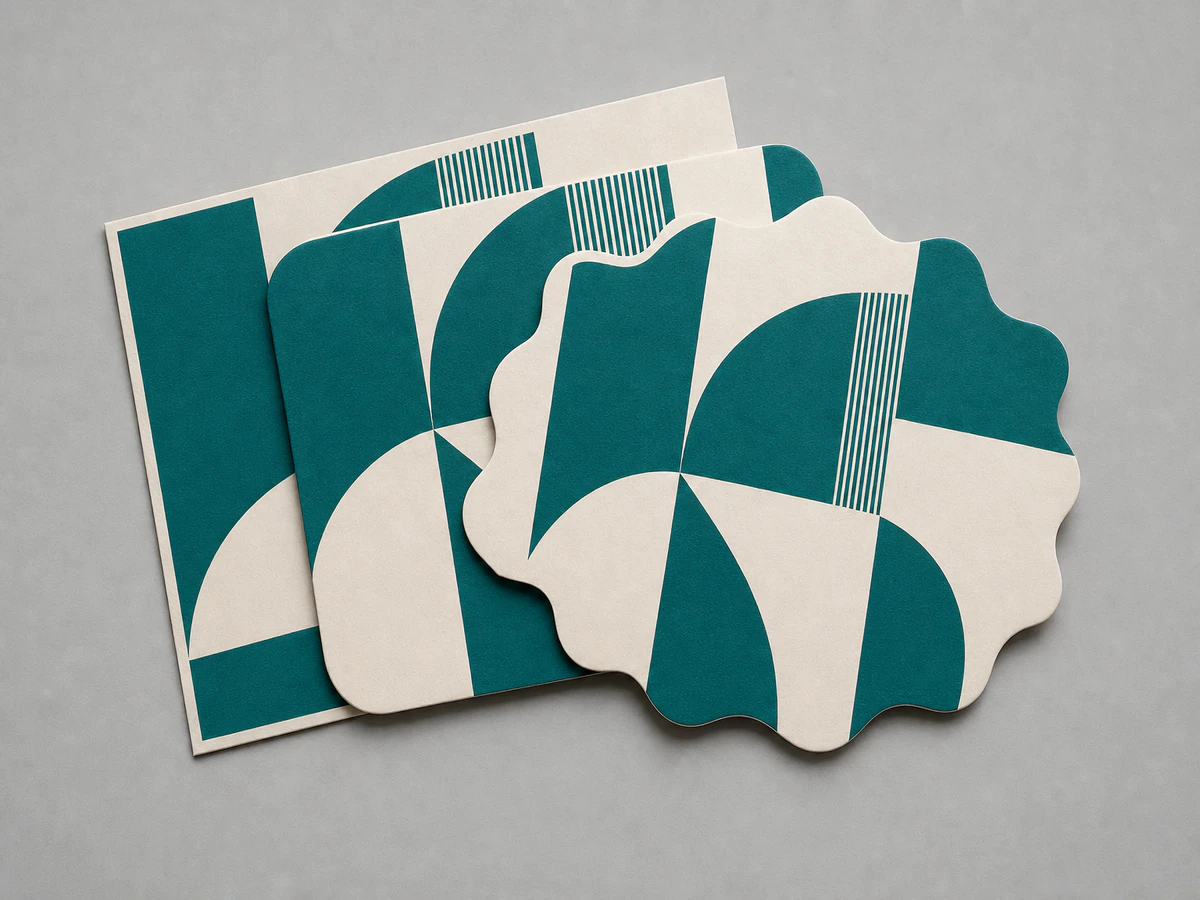
Square corners and rounded corners are both ordinary die-cutting on this line. A shape that is not a rectangle or a rounded rectangle is where a dedicated cutting die comes in, and that is a separate step rather than a variation on the same one.
Draw the outline last and it fits the constraints; draw it first and the constraints arrive as revisions.
Cutting Dies Belong to the Outline
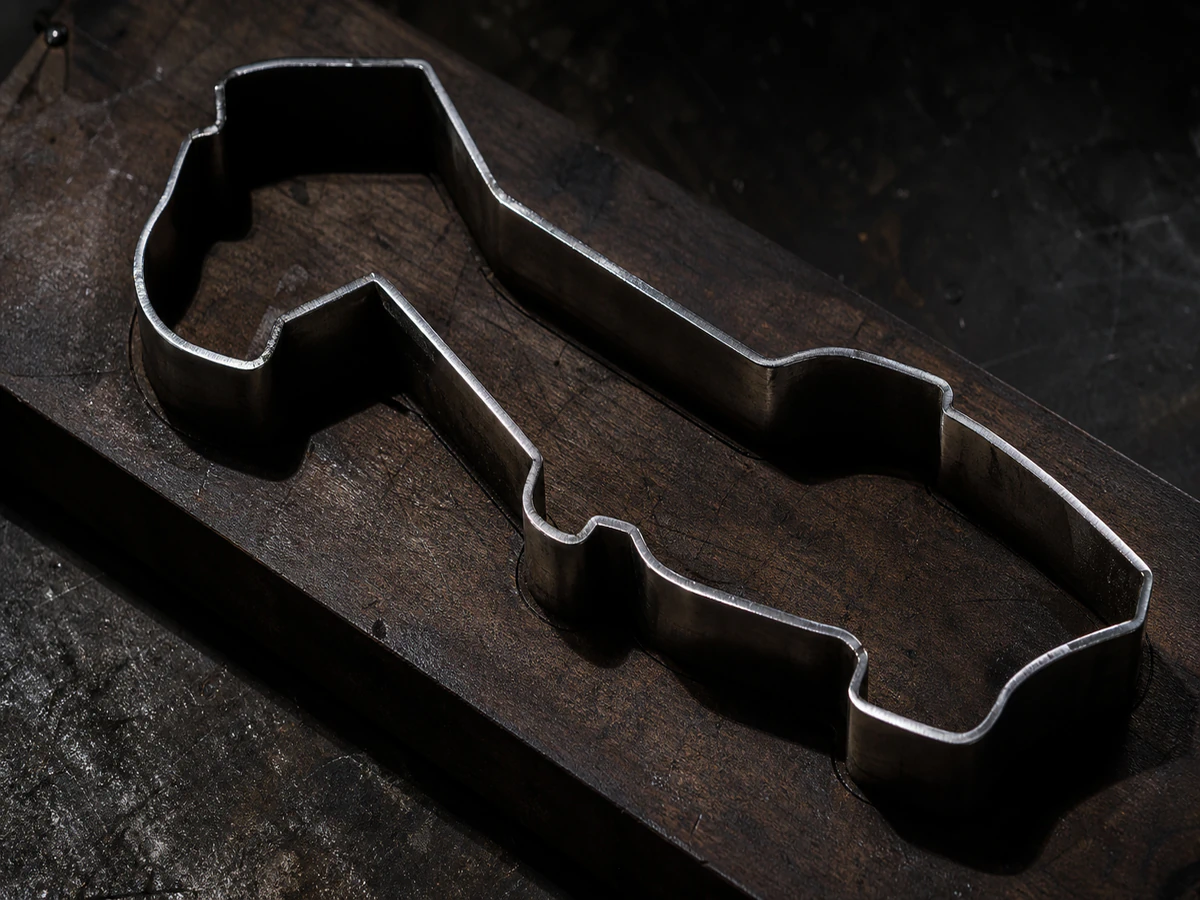
A cutting die is attached to a shape, not to an order. Once a die has been made for an outline, it is kept on file and used again when that outline is reordered.
Whether a repeat needs a new die comes down to whether the outline itself changed. A different size is a different outline. A different corner radius is a different outline. New artwork inside the same outline is not, and neither is a change of face or finish, because none of those move the cut line.
On a repeat, colour gets compared with the sample you signed off and with the Pantone reference kept alongside it, so the check is made against something physical rather than against a recollection.
Keeping the outline stable across a range is the cheapest decision on this page, and it is made at the start rather than discovered at the third reorder.
Which Layer a Property Belongs To, and Which Page Answers It
Most requirements arrive as a single word. Each one belongs to a layer, and to a page.
Face properties. They describe what the artwork is printed on, so they are settled in the face layer. Material pages in preparation.
Adhesive properties. They belong to the layer under the face, and they are chosen from the container rather than from the label. Material pages in preparation.
Finish properties. They sit over a face and are read together with it, which is what the earlier band is about. Covered on this page.
Outline and format rather than build. A dedicated page is in preparation.
Not a custom build at all. It is a consumable, and the wholesale thermal label roll supply side answers it.
A paper roll rather than a label. See receipt and till roll supply for POS.
A question about the code rather than about the build. It is answered on barcode label printing and variable data runs.
Printed to Your Own Artwork
What happens to a file after it arrives, before anything is printed.
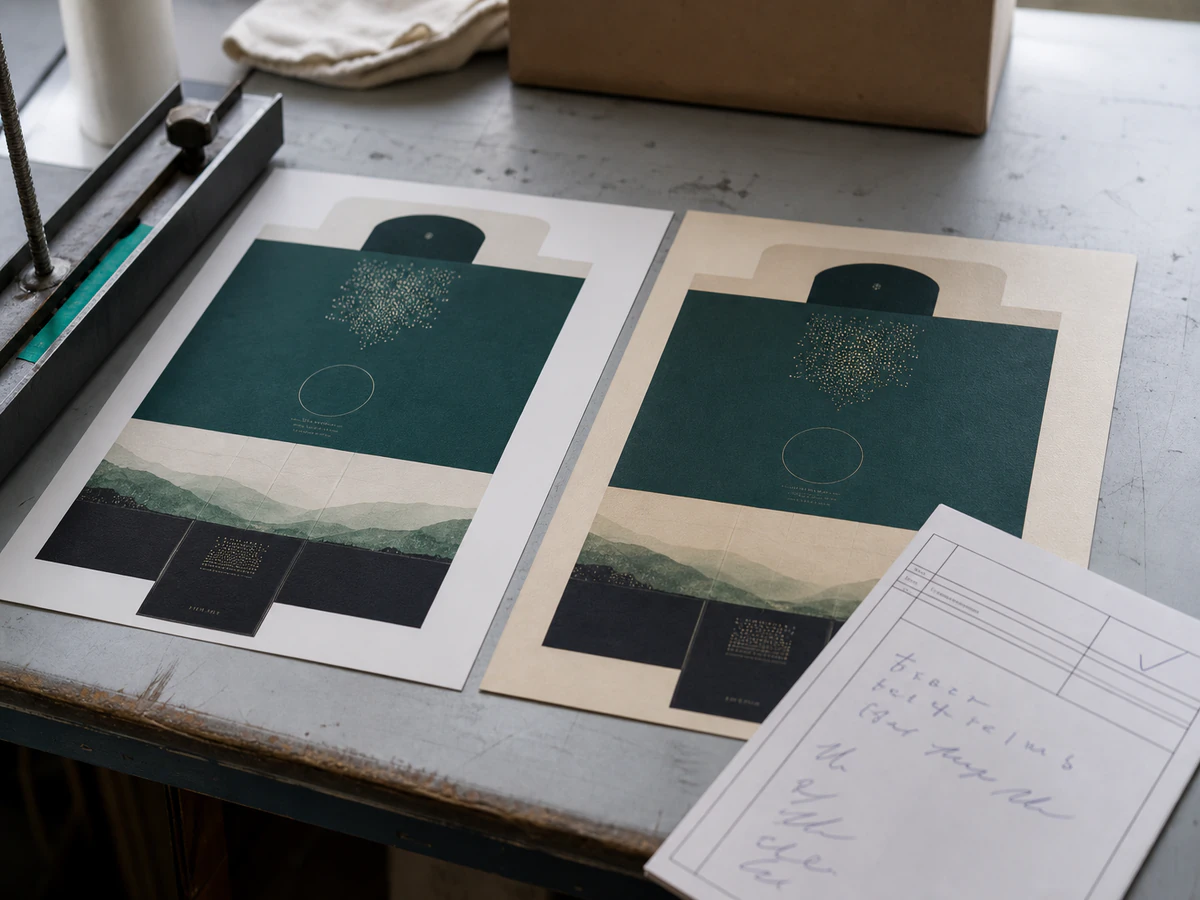
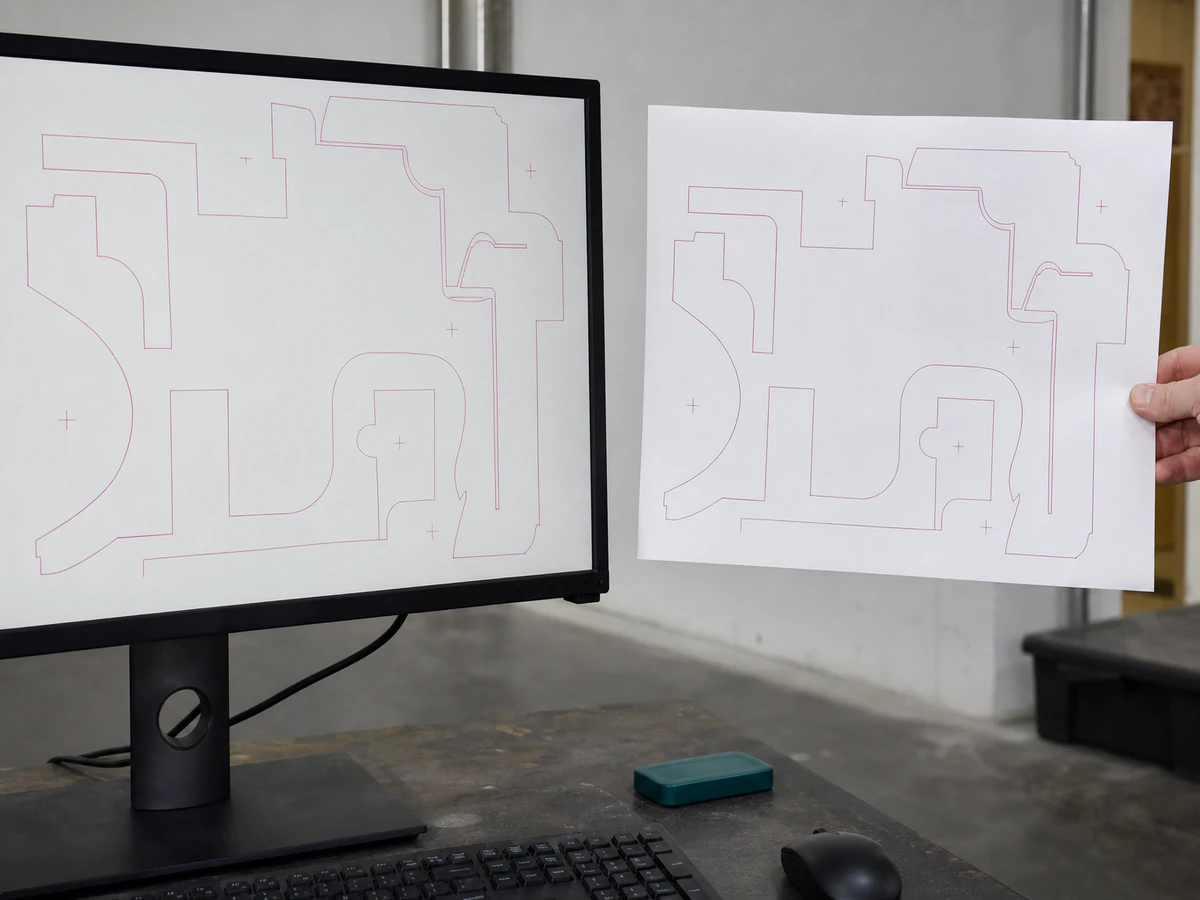
Artwork arrives and gets read back against the build it is going into: whether the cut line matches the outline that was agreed, whether the colours are specified in a way that can be matched, whether anything sits close enough to the edge to be at risk once the die is on it, whether a white layer is needed under the artwork for the face it is going onto.
That read-back comes back as questions rather than as a redrawn file. What we do not do is design the label or lay it out for you; the file stays yours, and what changes is that you find out what it will do on this build before it is committed.
Send the artwork after the container, not before it, because the read-back is only meaningful once there is a build to read it against.
Custom Label Quotes and Sample Requests
The container, roughly how many, and whether you want a sample before a price.
Name the container in the message box and the rest of the questions narrow themselves. If artwork exists, it can follow by email once this is in; if it does not, the build can still be quoted from the container and the quantity.
Where a job runs across more than one build, the whole specification is taken in one go by a custom label manufacturer's full enquiry form.