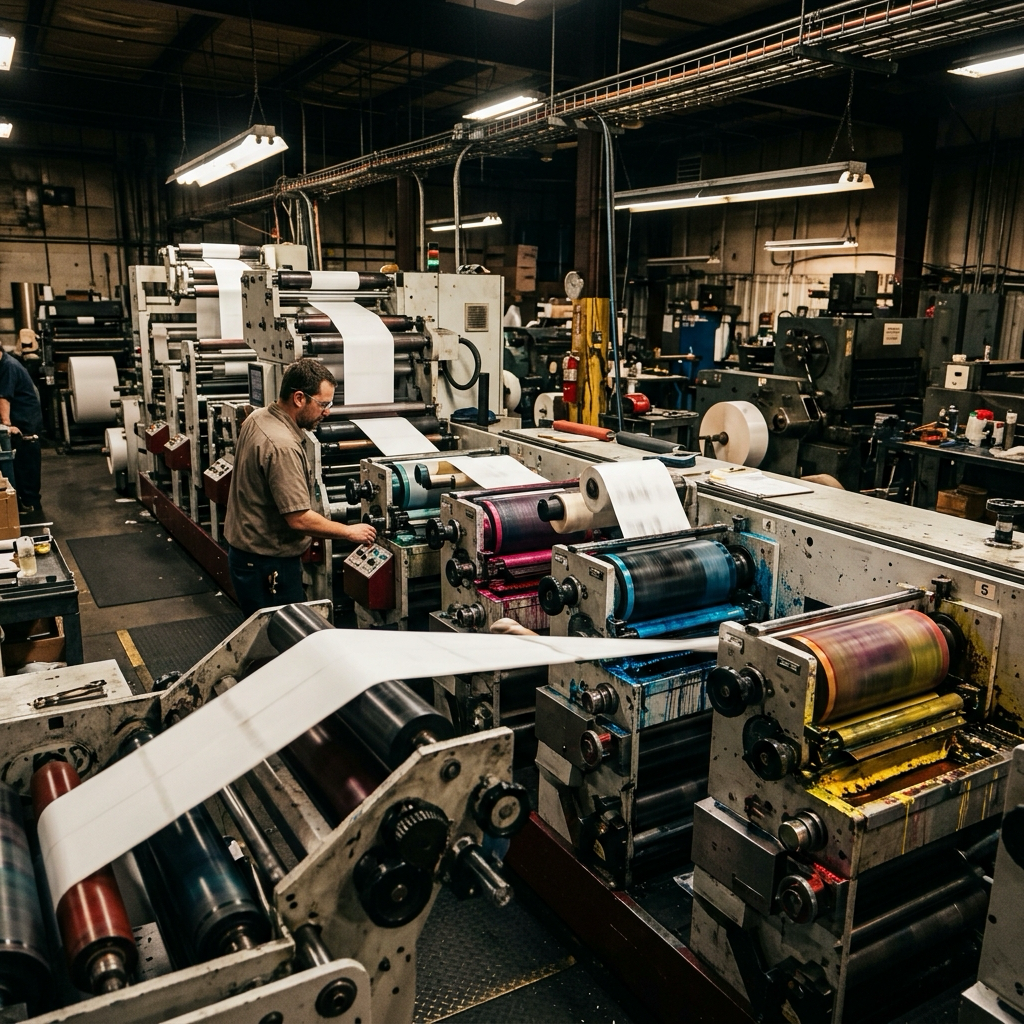
The email comes from the buyer's compliance desk, not your account manager. Your barcode verified at 1.2 — a D — and the first pallet sits on hold until you supply a corrected run. Twenty thousand labels, already printed and applied. Nobody was careless. The file was built at the smallest X dimension a spec sheet listed, and the press did what presses do to ink.
That is the part of custom UPC labels nobody warns a first-time brand about. Getting a number is trivial. Getting it onto a label a custom label printing factory presses in bulk, so it survives ink spread, die tolerance and a tired scanner, is a prepress discipline with nine checkpoints, in the order you hit them.
Build The Data File Before You Touch The Artwork
The artwork is the easy half. Almost every scrapped variable-data run traces back to a spreadsheet.
The merge contract: one record per row, one field per column, headers matching the artwork placeholders exactly — same spelling, same case, no trailing spaces. Send .CSV in UTF-8 or .XLSX with no merged cells and no live formulas, since a formula that still calculates is a value that can still change. Barcode fields carry digits only: no spaces, no hyphens, no "UPC:" prefix. Pre-compute sequential numbers as full strings, 000001 through 000500. The counter in the data file survives a press stop; the counter in the RIP does not.
The plant expects high-resolution PDF, CMYK, 300 dpi at 1:1, fonts outlined, 3 mm bleed, the die line on its own spot-colour layer set to overprint, variable elements on a layer named VDP, and barcodes as vector objects. Output goes as PDF/VT per ISO 16612-2.
Then the destructive one — column mapping shift. The merge reads column 4 where the template expected column 3, so every UPC belongs to the wrong SKU — and every label scans perfectly. Nothing breaks until the retailer scans one at the shelf. Run a 10-record proof merge and check the decoded values against the source by SKU name, never by position, and reconcile row count against order quantity before plates: 4,998 rows against an order for 5,000 is free to fix now and a reprint later.
Getting A GS1 Company Prefix Or A Single GTIN
Thirty dollars buys one GTIN, one-time, no renewal. For a single-SKU brand that is the right answer.
- One product, no case packs, no expansion this year → the single GTIN licence at $30.
- Two to ten products, or one product shipping in cases → the 10-GTIN tier, $250 plus $50 a year. A second single licence costs $30 again and leaves nothing reusable.
- SSCC pallet codes or GTIN-14 case codes → a prefix, no alternative. SSCC, AI (00), 18 digits, builds only from a company prefix, and a case code is an indicator digit of 1 to 8 plus that prefix, item reference and a fresh check digit.
- Amazon, Walmart, Target or a major grocer → a prefix in your own company name.
Tiers climb from there to $750 for 100 codes and $6,500 for 10,000. Fees are non-refundable, and a lapsed renewal takes the licence with it — barcodes keep scanning, but the GTINs stop resolving to your brand in the registry.
Someone will offer you codes for a few dollars each. Those sit under a 1980s-era licence belonging to somebody else, subdivided in a way GS1 stopped permitting decades ago. Major retailers compare the registered brand owner against the seller, and a mismatch means listing suppression or a chargeback. Weigh $250 for ten codes registered to you against a scrapped 20,000-piece run of UPC barcode labels printed to spec. Not a close call.
Check Digit Math And Where Wrong GTINs Come From
Take the eleven-digit body 72641217542 and solve for the twelfth digit.
Number the digits from the right starting at position 1. Sum the odd positions — 2 + 5 + 1 + 1 + 6 + 7 = 22 — and multiply by 3 for 66. Sum the even positions: 4 + 7 + 2 + 4 + 2 = 19. Add them for 85. Subtract that last digit from 10: 10 - 5 = 5. A remainder of 0 makes the check digit 0. Complete GTIN-12: 726412175425.
The same algorithm covers GTIN-8, GTIN-13, GTIN-14 and SSCC, though only GTIN-12 becomes a UPC-A. A GTIN-14 case code needs its own check digit across all fourteen digits; borrowing the item's digit gives a number that fails at the register.
Almost nobody gets the arithmetic wrong. Wrong GTINs come from Excel. A GTIN-12 beginning 0 12345 loses its leading zero the moment the cell is typed as a number. Twelve digits or more display as 7.26412E+11, and past 15 significant digits Excel drops precision silently, returning trailing zeros. Format the column as Text before pasting.
Run the first and last 10 rows through the GS1 calculator, since import errors hit the top of a file and truncation the bottom. Better, validate the whole column in code — four lines, and the spot check becomes an audit. An 11-digit value in a GTIN-12 column is a dropped zero, not a typo.
Choosing Magnification: 80 To 200 Percent And X Dimension
0.264 mm is the number designers copy most often, and it is the worst one to build with.
A UPC-A at 100% magnification measures 37.29 x 25.91 mm overall including quiet zones, at an X dimension of 0.330 mm. GS1 and ISO/IEC 15420 permit 80% to 200% for pre-printed retail symbols, putting X between 0.264 mm and 0.660 mm. So 0.264 mm is the floor of the tolerance band, not the nominal. Build there and ink gain, substrate stretch and plate wear push the symbol out of compliance; build at 0.330 mm and there is room in both directions.
| Magnification | X dimension | Overall width | Bar area width | Min bar height |
|---|---|---|---|---|
| 80% | 0.264 mm | 29.83 mm | 25.08 mm | 18.29 mm |
| 90% | 0.297 mm | 33.56 mm | 28.22 mm | 20.57 mm |
| 100% | 0.330 mm | 37.29 mm | 31.35 mm | 22.86 mm |
| 120% | 0.396 mm | 44.75 mm | 37.62 mm | 27.43 mm |
| 160% | 0.528 mm | 59.66 mm | 50.16 mm | 36.58 mm |
| 200% | 0.660 mm | 74.58 mm | 62.70 mm | 45.72 mm |
Read the table for headroom, not the smallest row that fits. 80% is compliant on paper, but across worn scanner windows, curved bottles and fast lanes, 100% to 120% is where scan-first-time rates settle. Distribution and automated scanning want 150% to 200%. The 75% floor near 0.249 mm applies only to on-demand thermal printing, covered separately in our direct thermal versus thermal transfer label comparison.
One trap surfaces at proof. Presses with a fixed addressable grid cannot always land on 0.264 mm, so the module snaps to the nearest achievable width — an effective 75.7% or 76.9%, which a verifier reads as undersized. Ask the plant for its achievable X increments before committing near the floor, and check the plant's slitting and die-cutting capability in the same conversation.
Quiet Zones, Truncation And Placement On The Label
A die line moves 2 mm for new tooling, the artwork never changes, and the right quiet zone is suddenly outside the cut. On a roll label the die line is the label edge, so anything past it does not exist.
UPC-A needs at least 9X left and 9X right, per GS1 General Specifications and ISO/IEC 15420. At the 0.264 mm minimum that is 2.38 mm per side; at the 0.330 mm nominal, 2.97 mm; at 0.660 mm, 5.94 mm. No top or bottom quiet zone is required. EAN-13 is asymmetric at 11X left and 7X right, so do not carry the rule across symbologies, and treat a template quoting 7X for UPC-A as superseded AIM documentation. Lock the clear area in as a non-print rectangle.
Two other things eat it: a dark background bleeding past the boundary reads as a bar: an F on that parameter, no partial credit. Rounded corners are sneakier, because a 3 mm radius lives in the die file rather than the artwork, so the clip surfaces at press proof.
Cutting bar height below 22.86 mm at 100%, or the proportional minimum elsewhere, is truncation. Omnidirectional scanners need several clean scan lines to decode, and short bars starve them. GS1 does not sanction truncated UPC-A symbols; a label too small for full height at 80% calls for UPC-E, zero-suppressed, 8 digits, from the same prefix. Keep the symbol in the lower-right region of the display panel per Section 6.3, away from seams, folds and tight curves.
Bar Width Reduction For Flexo And Other Wet Ink Presses
Bar width reduction is a prepress compensation applied before plates are made, and it never appears on a verification report; ISO/IEC 15416 does not grade it. Wet-ink processes — flexo, offset, letterpress, rotogravure — spread ink at transfer, so bars come off wider than the file said. BWR shrinks the bars in the file so the printed bar lands on target.
The narrowing is symmetric. A 40 µm BWR removes 20 µm from each edge of every bar, so bar centres and the module grid stay put while spaces widen by what the bars lose. The general band is 20 to 100 µm: narrow-web flexo on coated paper with a fine anilox sits at 20 to 40 µm, film and synthetics at 30 to 50 µm, while coarse anilox, soft plates, heavy impression and absorbent stock push toward the top. Digital toner and inkjet need little.
Anilox line count, plate durometer, relief depth, substrate absorbency, impression pressure, ink viscosity, press speed — every variable behind the number is press-specific, so BWR values do not transfer between presses. A table borrowed from another label roll manufacturer is a guess with a decimal point.
What a designer controls is whether the printer can compensate at all. Vector art lets prepress apply BWR per edge at plate resolution. A rasterised barcode has module edges made of pixels, so compensating means resampling, which softens them and drags down modulation and decodability. Send live vector, name the substrate and process, and let the prepress team at your OEM label printing service own the micron figure.
ISO 15416 Grades: What Retail Verifiers Actually Measure
A verifier never looks at your barcode. It takes a Scan Reflectance Profile across one horizontal line, derives nine parameters from that trace, then repeats at ten heights up the symbol.
Five of the nine are pass/fail gates scored A or F. Three fire before grading: minimum reflectance, where Rmin must be no more than 0.5 x Rmax; decode under ISO/IEC 15420; and edge contrast, at least 15% on the weakest bar/space transition. One failed gate makes the line an F.
| Parameter | A (4.0) | B (3.0) | C (2.0) | D (1.0) | F (0.0) |
|---|---|---|---|---|---|
| Symbol contrast | ≥ 70% | ≥ 55% | ≥ 40% | ≥ 20% | < 20% |
| Modulation | ≥ 0.70 | ≥ 0.60 | ≥ 0.50 | ≥ 0.40 | < 0.40 |
| Defects | ≤ 0.15 | ≤ 0.20 | ≤ 0.25 | ≤ 0.30 | > 0.30 |
| Decodability | ≥ 62% | ≥ 50% | ≥ 37% | ≥ 25% | < 25% |
A scan line takes the lowest of its nine grades, and the symbol grade is the mean of the ten. Which is why the number tells you more than the letter: a 2.0 might be ten consistent C lines, or four A lines and six F lines from a die cut clipping the symbol. The average hides that; page two of the report does not.
GS1 sets the retail POS minimum for EAN/UPC at symbol grade 1.5, written in full as 1.5/06/660. Most retailer contracts ask for more — 2.0 as a floor, 2.5 or 3.0 for automated distribution. The second and third numbers matter as much: 06 is the measuring aperture, 0.006 in, and 660 the illumination wavelength in nanometres. Grades taken at another aperture or wavelength are not comparable. Check sample size too: a single-label report on a 50,000-piece run is a photograph, not a record. Ask for first-off, mid-run and last-off on your barcode label rolls graded to ISO 15416, plus one per roll on long runs.
Serial Number Integrity Across Reprints, Reloads And Batches
Duplicates and gaps are the two failures that never show on the label itself. A serial printed twice makes every asset tag tied to it ambiguous; a serial in the range that was never printed reads to an auditor as a missing unit.
The counter has to survive cancelled jobs, RIP restarts, roll changes and reprints. After a web break, production resumes at the next unissued number, not at the start of the job. An operator restarting from record 1 because the RIP dialogue defaulted there is the most common source of duplicates.
Close every batch by reconciling four figures against the planned range: first and last serial printed, quantity produced, quantity spoiled. An order for 5,000 labels on range 010001-015000 that produced 5,000 good plus 60 waste ends at 015060, not 015000, and the register has to say so or the next batch collides.
Sampling belongs in-process. On batches above 1,000 units, pull 1 label per 100 and check every variable field, not just the barcode. That catches a mapping shift or a stale data file while the press is still running, rather than after 40,000 labels are on the core. Sample n should sit roughly 100 above sample n-1; a repeat is the counter announcing itself early.
Put a unique constraint on the serial column at import, and check that max minus min plus one equals the row count. Keep a permanent used-range register — job, product, start and end serial, date, quantity — and never reuse a range because those labels were scrapped. Scrapped labels leave the building more often than anyone admits.
Adding A 2D Code Now: GS1 Digital Link And The 2027 Sunrise
Reserve the 2D position in this revision, even if nothing in your channel reads it yet.
GS1 US guidance is to add a Data Matrix or QR symbol to packaging now, and to upgrade any QR already on the pack to GS1 Digital Link format carrying the GTIN. The model is dual marking: UPC-A and a 2D symbol side by side, with retail POS intended to accept the 2D code after the 2027 sunrise.
Digital Link encodes the GTIN inside a URL, so one symbol serves the register and the shopper's phone: https://example.com/01/00614141123452. The /01/ is the Application Identifier for GTIN, /21/ appends a serial, /10/ a batch. That URL structure becomes part of the print spec, decided before artwork rather than after. A Digital Link carrying a serial is variable data, generated per label from the same CSV that drives your sequential numbers.
On layout, Data Matrix needs a quiet zone of 1X on all four sides and QR needs 4X, both in the 2D symbol's own X dimension. Neither may borrow from the UPC-A's 9X, and the UPC-A keeps its Section 6.3 position. Two more things: 2D quality is graded under ISO/IEC 15415, so a UPC report does not cover the Data Matrix, and 2D symbols need imaging scanners — which is what 2027 is really about.
Placing it on a revision you are already paying for costs prepress time. Retrofitting in 2027 costs new artwork, possibly a new die, re-approval, and the write-off of pre-printed stock in the warehouse — thousands per SKU.
Conclusion
Three decisions carry most of the risk. Build at 0.330 mm rather than the 0.264 mm floor, because the tolerance band is headroom and the press will spend it. Read the proof merge by SKU name, because a mapping shift produces labels that scan perfectly and are all wrong. And read the aperture and wavelength before the grade — a number measured under the wrong conditions is not the number your retailer gets.
Next steps:
- Decide prefix versus single GTIN on the order profile, not the SKU count.
- Validate the whole GTIN column in code, then confirm digit count per row.
- Ask the plant for its X dimension increments and its BWR for your substrate.
- Lock quiet zones as non-print rectangles, and reserve the 2D position.
- Specify first-off, mid-run and last-off verification in the purchase order.
Send us the CSV and the artwork to start a proof merge with our prepress team before anything reaches plate.